Film Effects

THE TECHNOLOGY OF FILM CHARACTER

See what changes inside the image.

Five monochrome studies show how texture, light response, edge behavior, and tonal compression shape the final frame—without hiding the process behind a sample photograph.

01 · TONE

Build the image first.

Resolve exposure, white balance, contrast, and the preset strength before adding a finish.

02 · TEXTURE

Choose one surface.

Fine grain stays quiet. Coarse grain, dust, and distress make texture part of the idea.

03 · LIGHT

Follow existing light.

Bloom, halation, and leaks feel natural when they reinforce light already present in the frame.

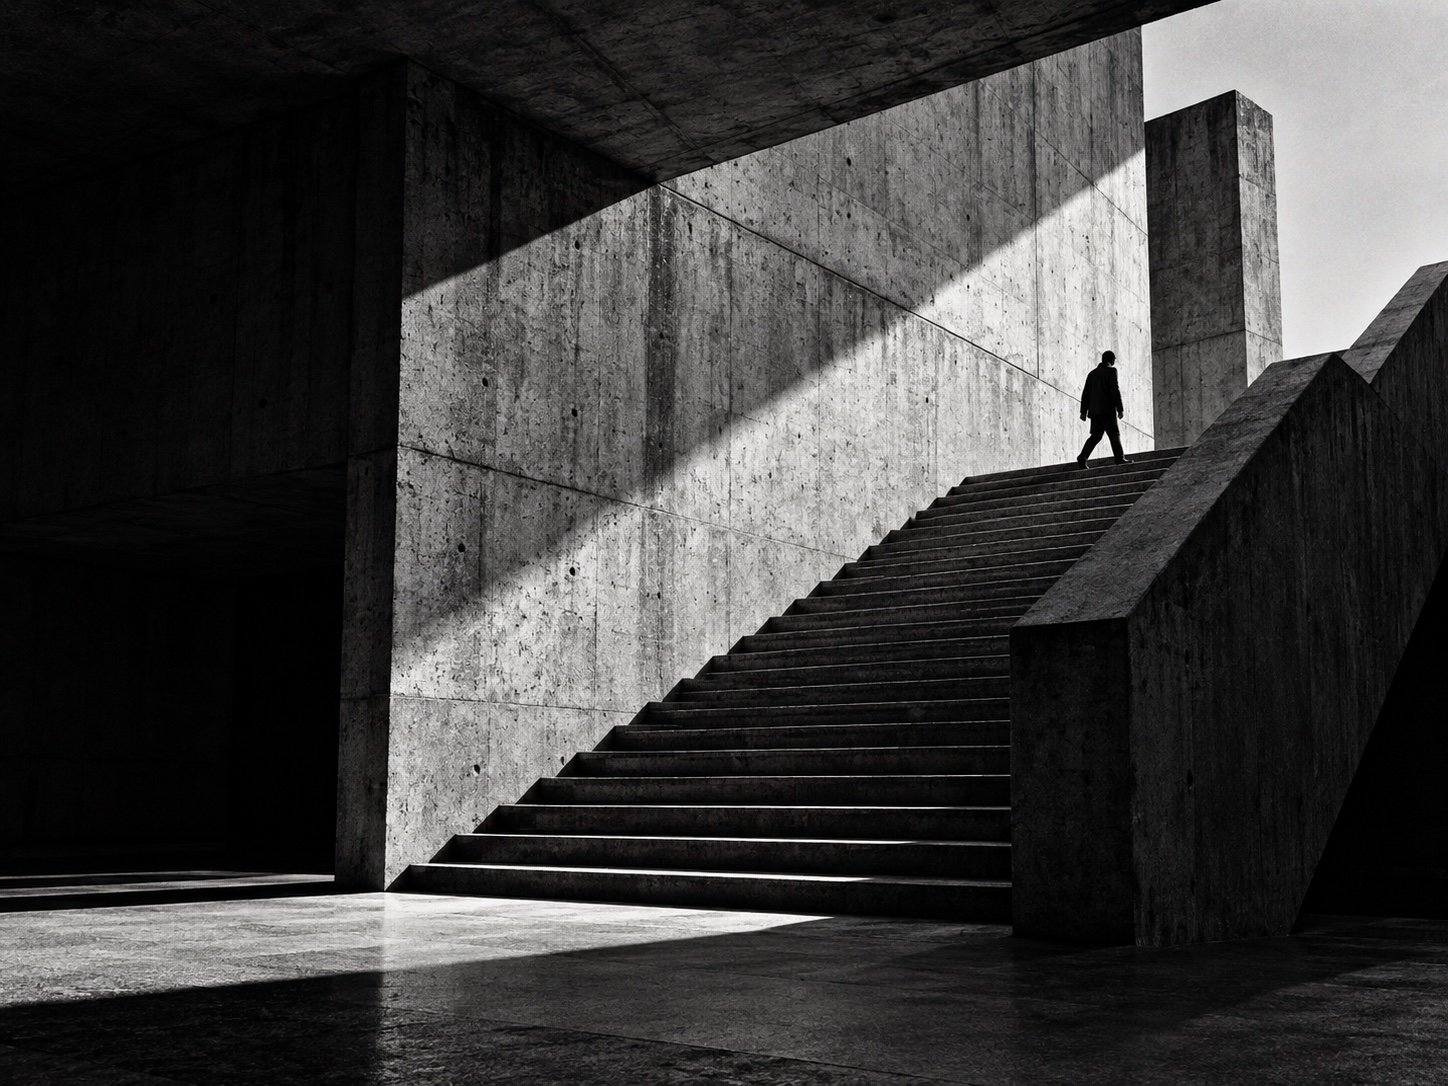
Fine grain film effect example
01 · Texture

Fine grain

A restrained, tight grain pattern for subtle analog structure. It adds a physical surface while keeping faces and fine edges readable.
BEST FOR
Daylight, street scenes, portraits
CONTROL
Amount and grain size
METHOD
Use after sharpening
WATCH FOR
Too much can hide skin and fine detail.
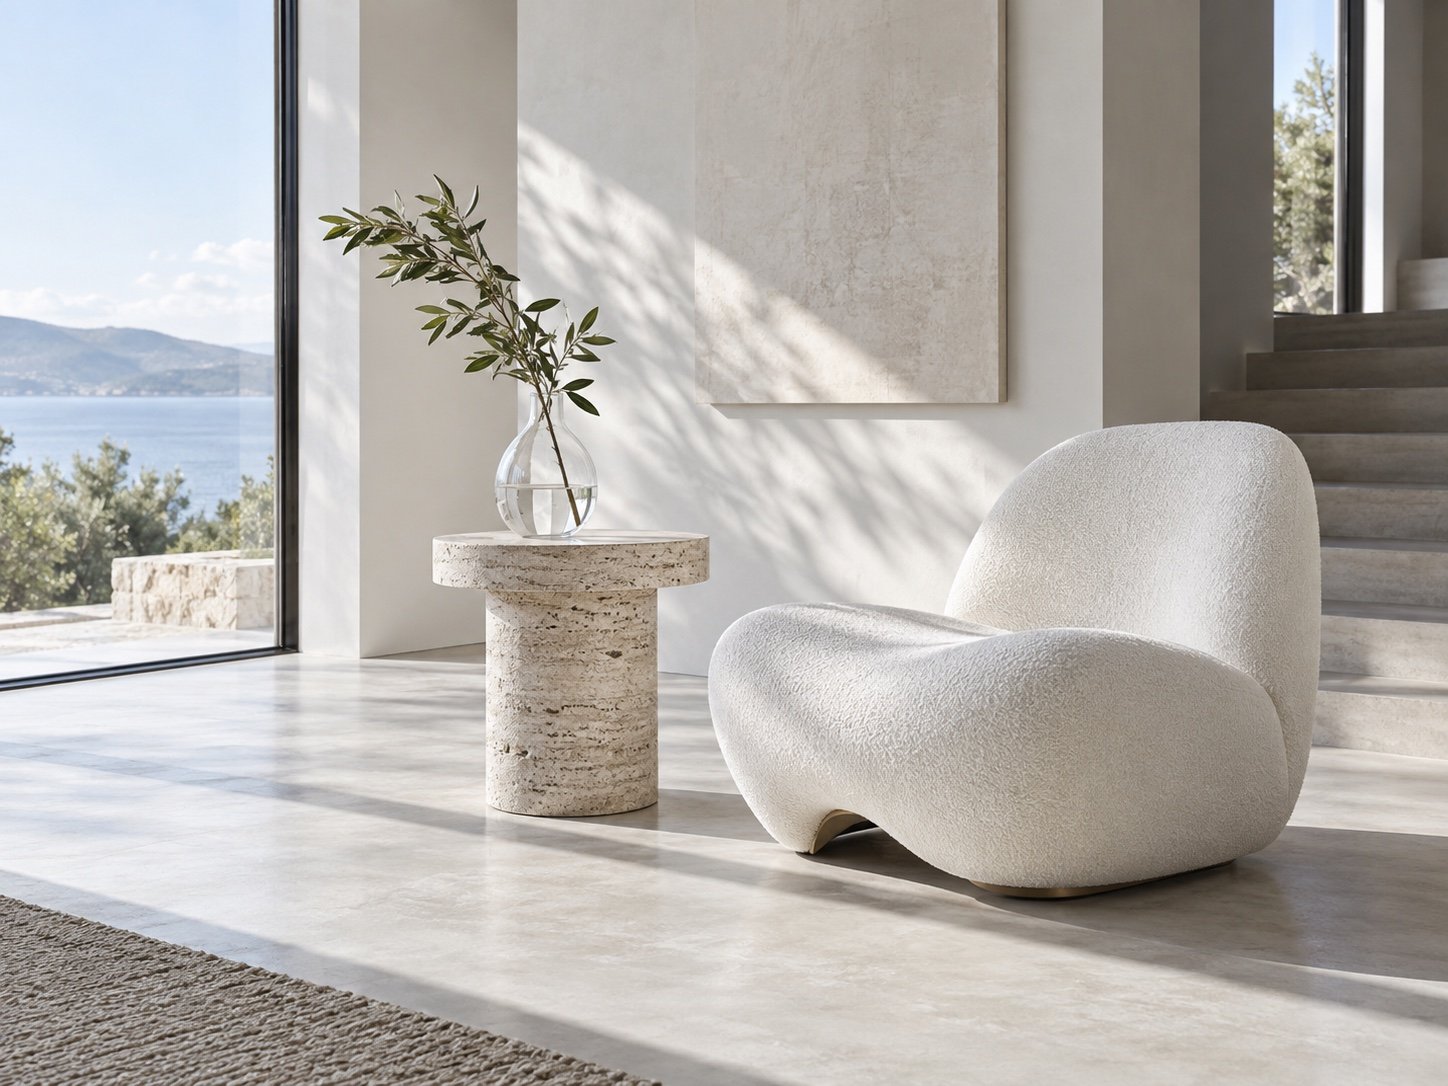
Coarse grain film effect example
02 · Texture

Coarse grain

A larger and more visible grain structure that gives monochrome and low-light photographs a raw, tactile finish.
BEST FOR
Monochrome, night, editorial work
CONTROL
Amount and scale
METHOD
Judge at export size
WATCH FOR
Large grain can overpower small images.
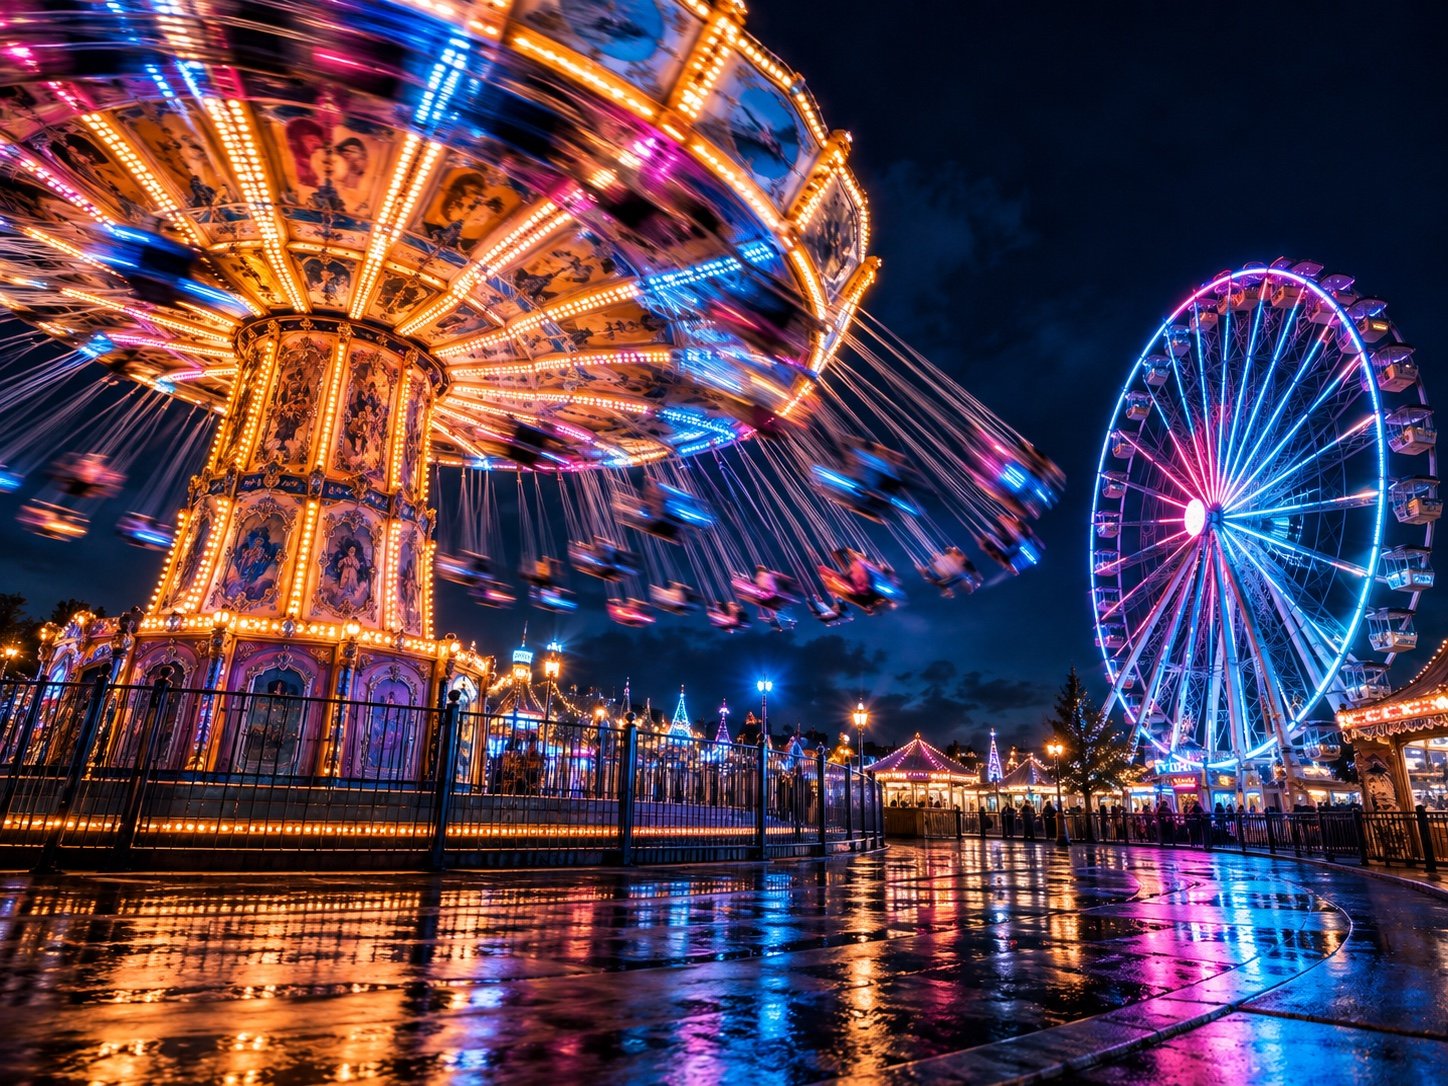
Bloom film effect example
03 · Light

Bloom

Softens the transition around bright details so window light, lamps, and reflective surfaces feel luminous rather than clipped.
BEST FOR
Backlight, interiors, bright windows
CONTROL
Radius and strength
METHOD
Target bright transitions
WATCH FOR
Keep midtones and faces clear.
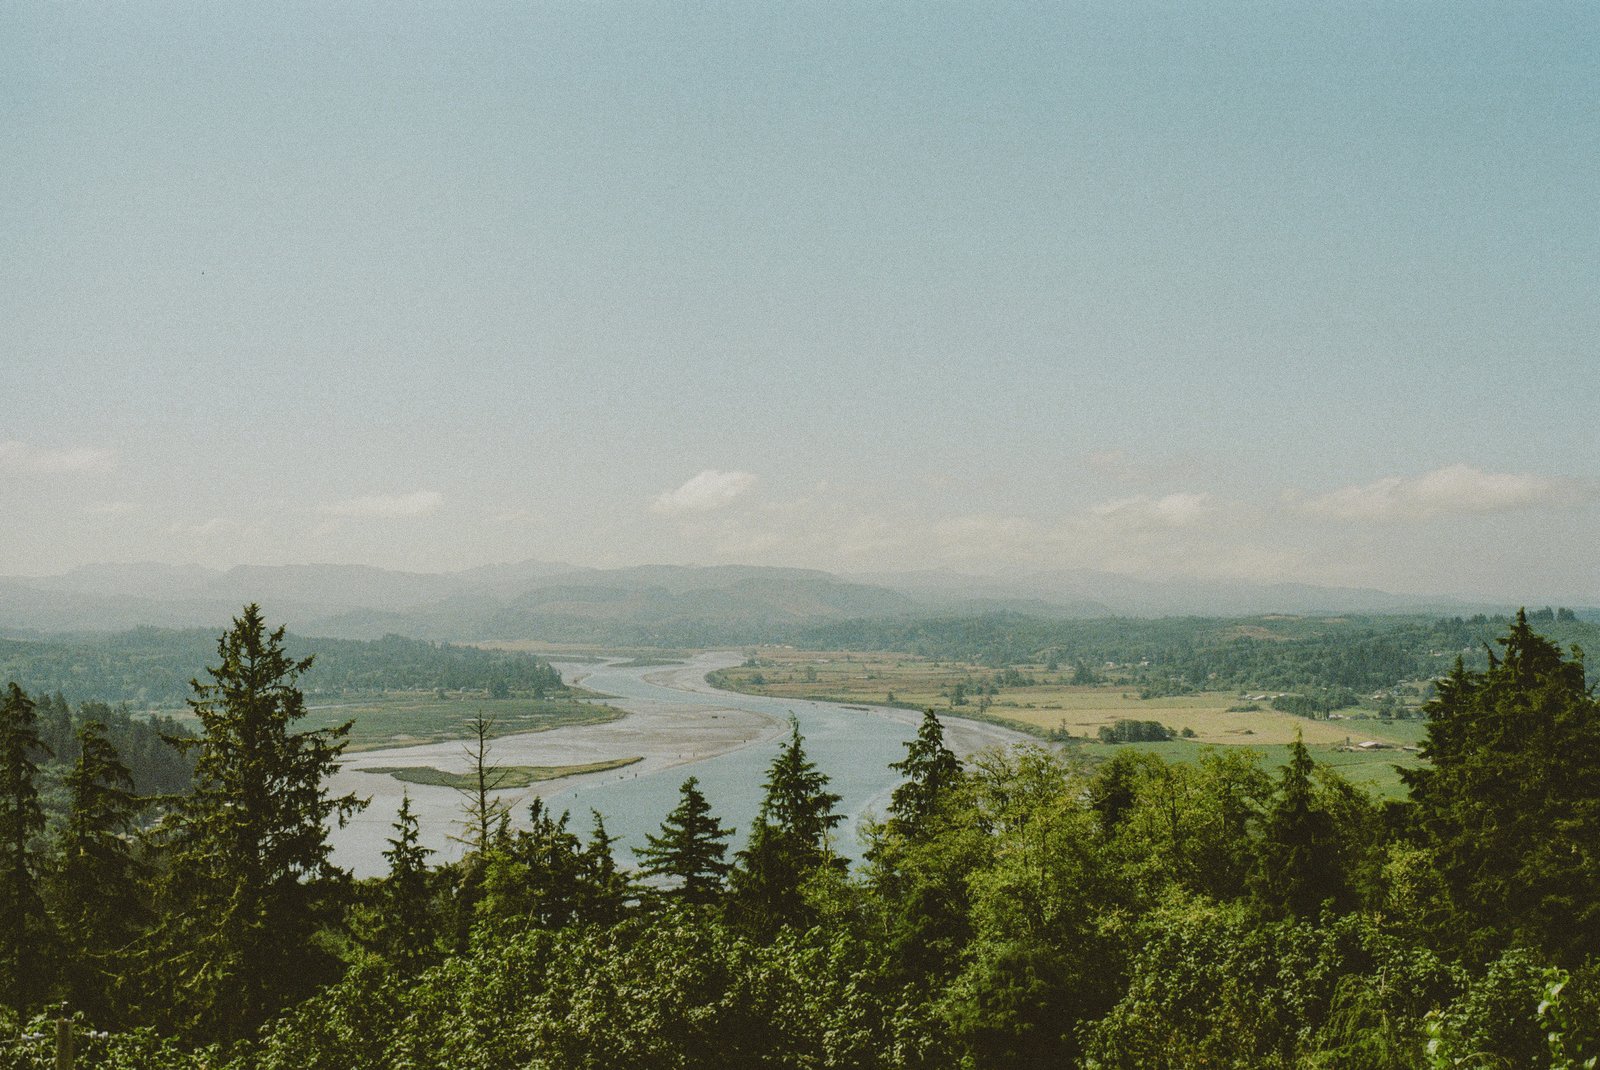
Halation film effect example
04 · Light

Halation

Introduces a warm edge around the most intense highlights, echoing the way light can spread through film emulsion.
BEST FOR
Neon, night scenes, hard highlights
CONTROL
Threshold and intensity
METHOD
Look for hard highlights
WATCH FOR
Avoid a uniform red glow.
Fade film effect example
05 · Tone

Fade

Lifts the deepest blacks and compresses the lower tonal range for a softer, lower-contrast film curve.
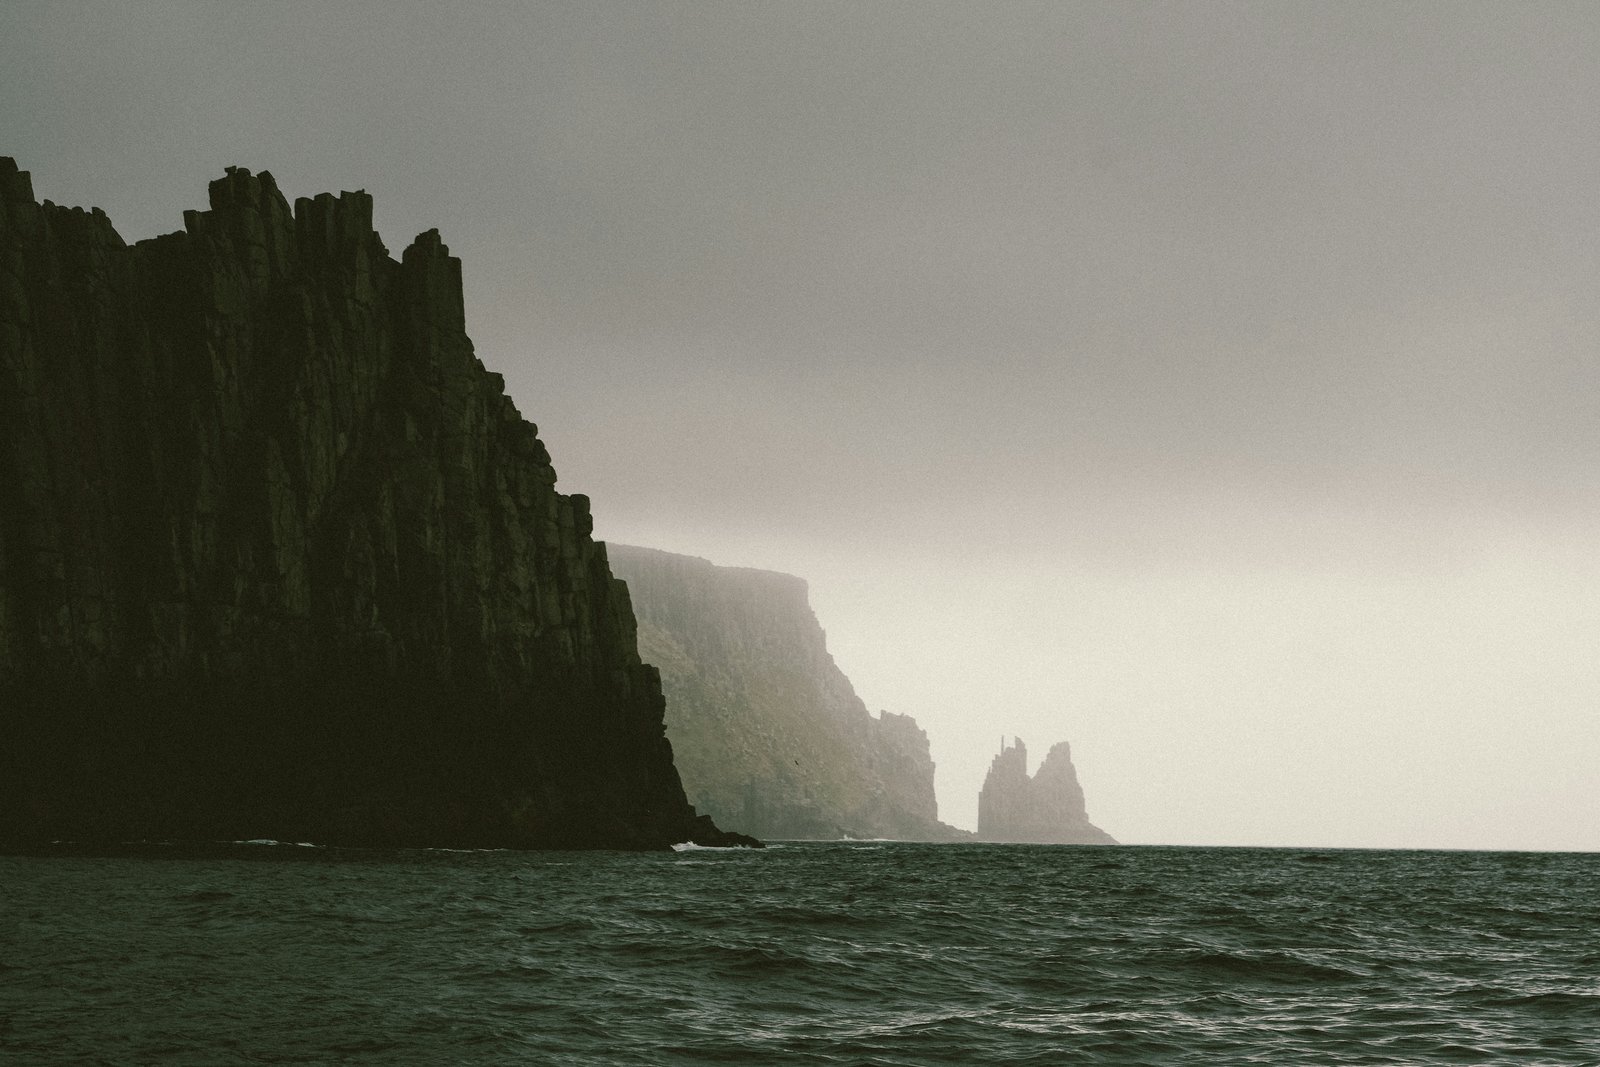
BEST FOR
Portraits, travel, soft daylight
CONTROL
Amount and black point
METHOD
Set contrast first
WATCH FOR
Protect separation in deep shadows.
Vignette film effect example
06 · Focus

Vignette

Quietly darkens the outer frame to hold attention near the subject without making the edge treatment obvious.

BEST FOR
Centered subjects, street, interiors
CONTROL
Amount and feather
METHOD
Follow the subject
WATCH FOR
The darkened edge should stay unnoticed.
Dust film effect example
07 · Texture

Dust

Adds restrained physical imperfections inspired by scanned negatives, giving polished digital images an aged character.

BEST FOR
Nostalgic, editorial, holiday work
CONTROL
Density and opacity
METHOD
Use as a final accent
WATCH FOR
A little variation feels more believable.
Light leak film effect example
08 · Light

Light leak

Places a controlled wash of warm light along an edge of the photograph to introduce movement and imperfection.
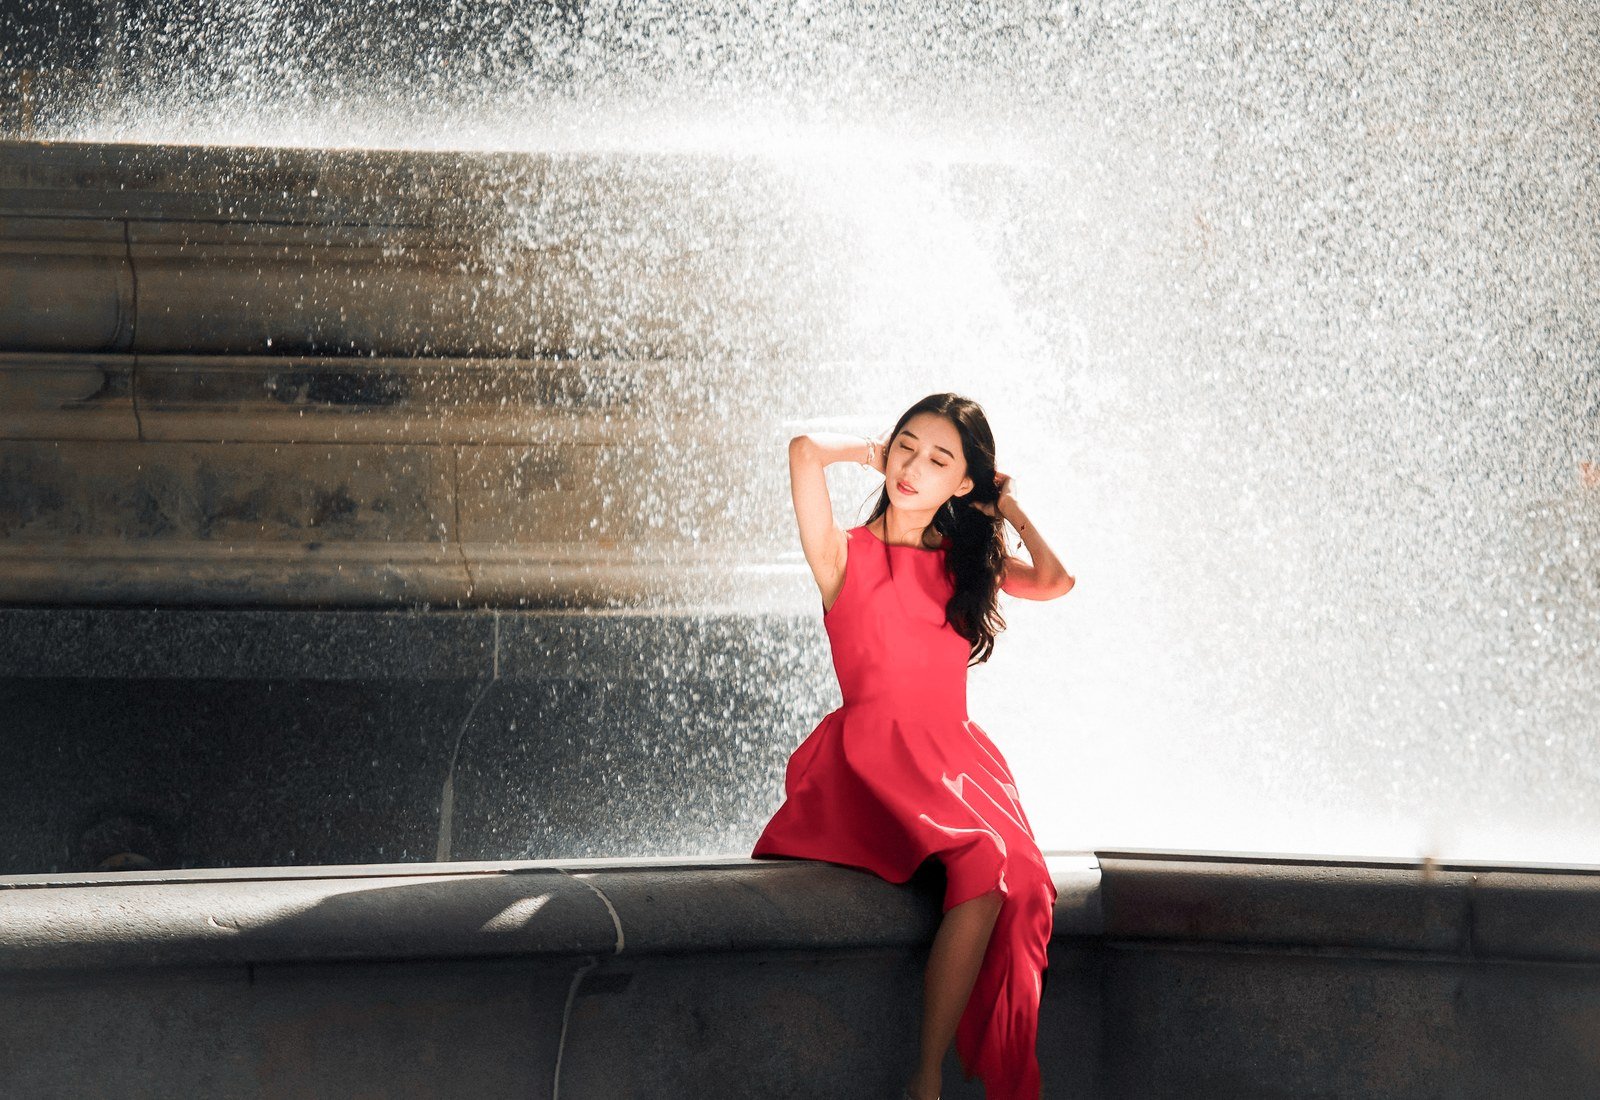
BEST FOR
Side light, night, experimental edits
CONTROL
Position and strength
METHOD
Place it near real light
WATCH FOR
Do not cover the subject by default.
Soft focus film effect example
09 · Focus

Soft focus

Takes the clinical edge off fine detail while keeping the composition legible and the subject recognizable.
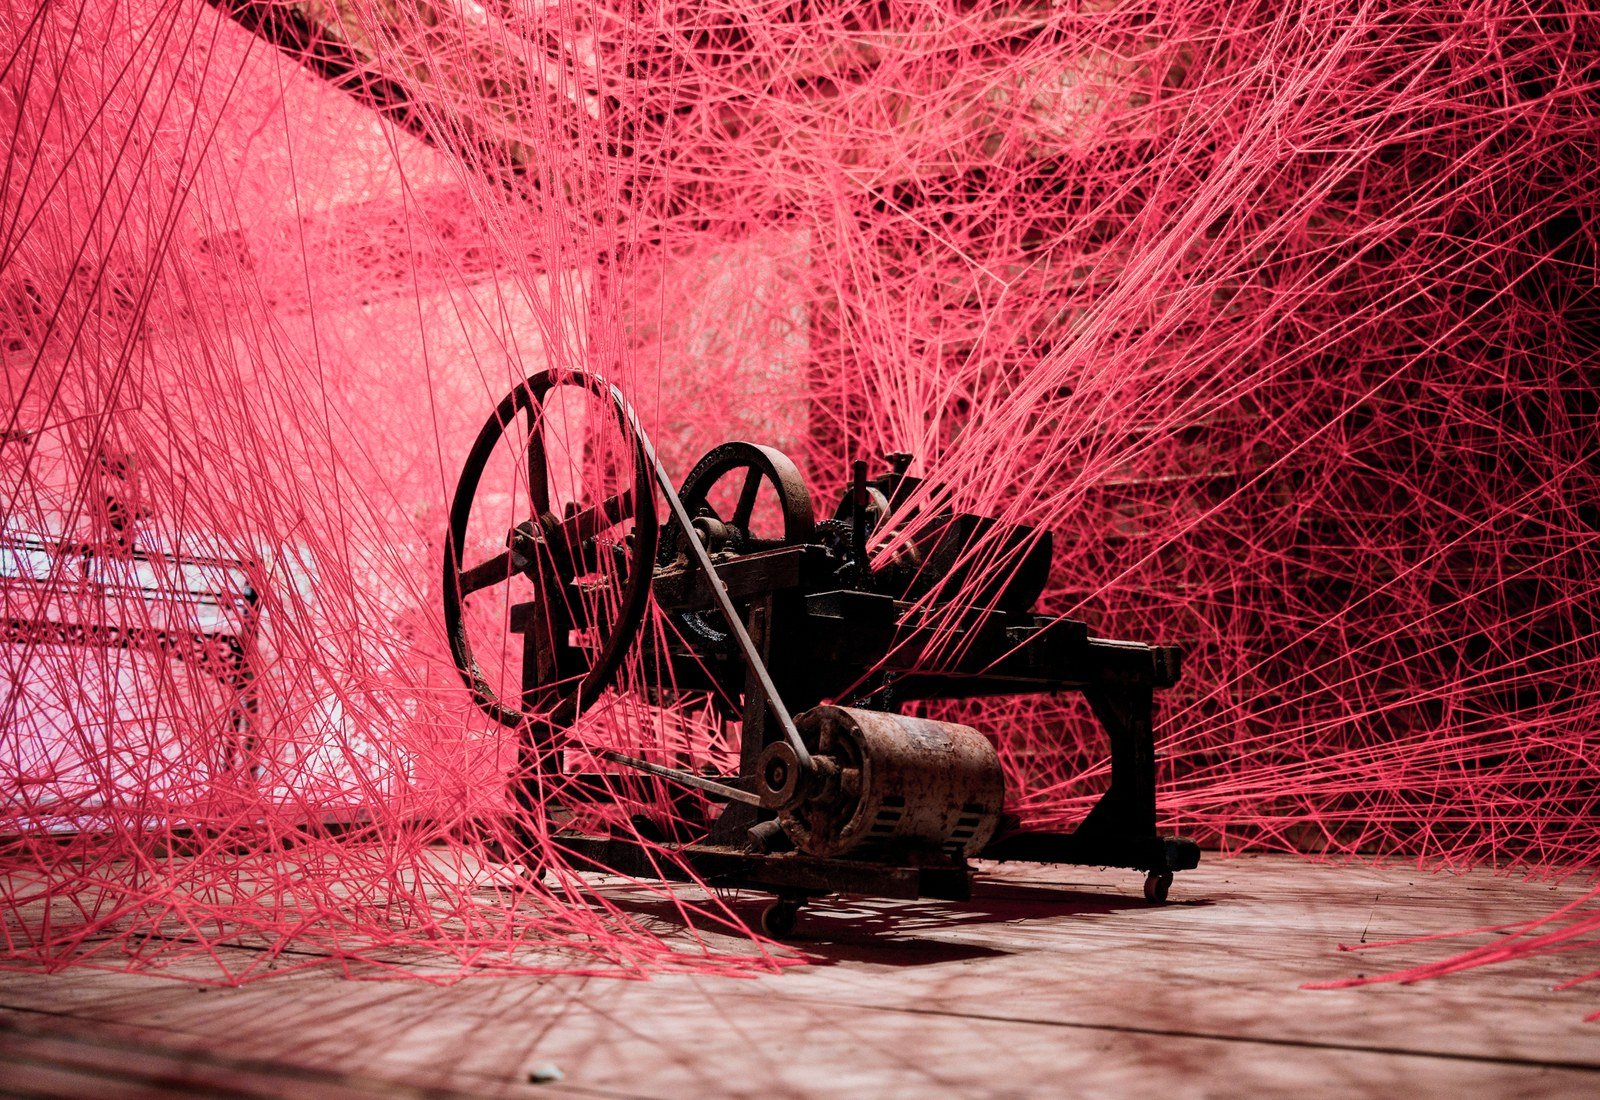
BEST FOR
Portraits, flowers, window light
CONTROL
Radius and mix
METHOD
Check eyes and edges
WATCH FOR
Retain one area of visual clarity.
Chromatic edge film effect example
10 · Color

Chromatic edge

Separates color lightly at high-contrast edges for an optical finish that feels energetic without overtaking the frame.

BEST FOR
Neon, architecture, graphic scenes
CONTROL
Offset and mix
METHOD
Use on contrast edges
WATCH FOR
Keep the center of interest readable.

A BETTER FINISHING ORDER

Color
first.
Character second.

  1. 01

    Correct exposure and white balance.

    Protect the usable highlight and shadow information before judging a creative finish.
  2. 02

    Choose a preset and set its strength.

    Let the preset establish color direction, then reduce its strength until it belongs to the frame.
  3. 03

    Refine tone and detail.

    Resolve contrast and detail before adding grain, bloom, halation, or other optical character.
  4. 04

    Add film effects as the final layer.

    Use the effect as a final layer and compare at the intended viewing size before export.